


.jpg)
| SUPPLIES |
A pair of jeans | X-Acto Knife | Piece of cardboard
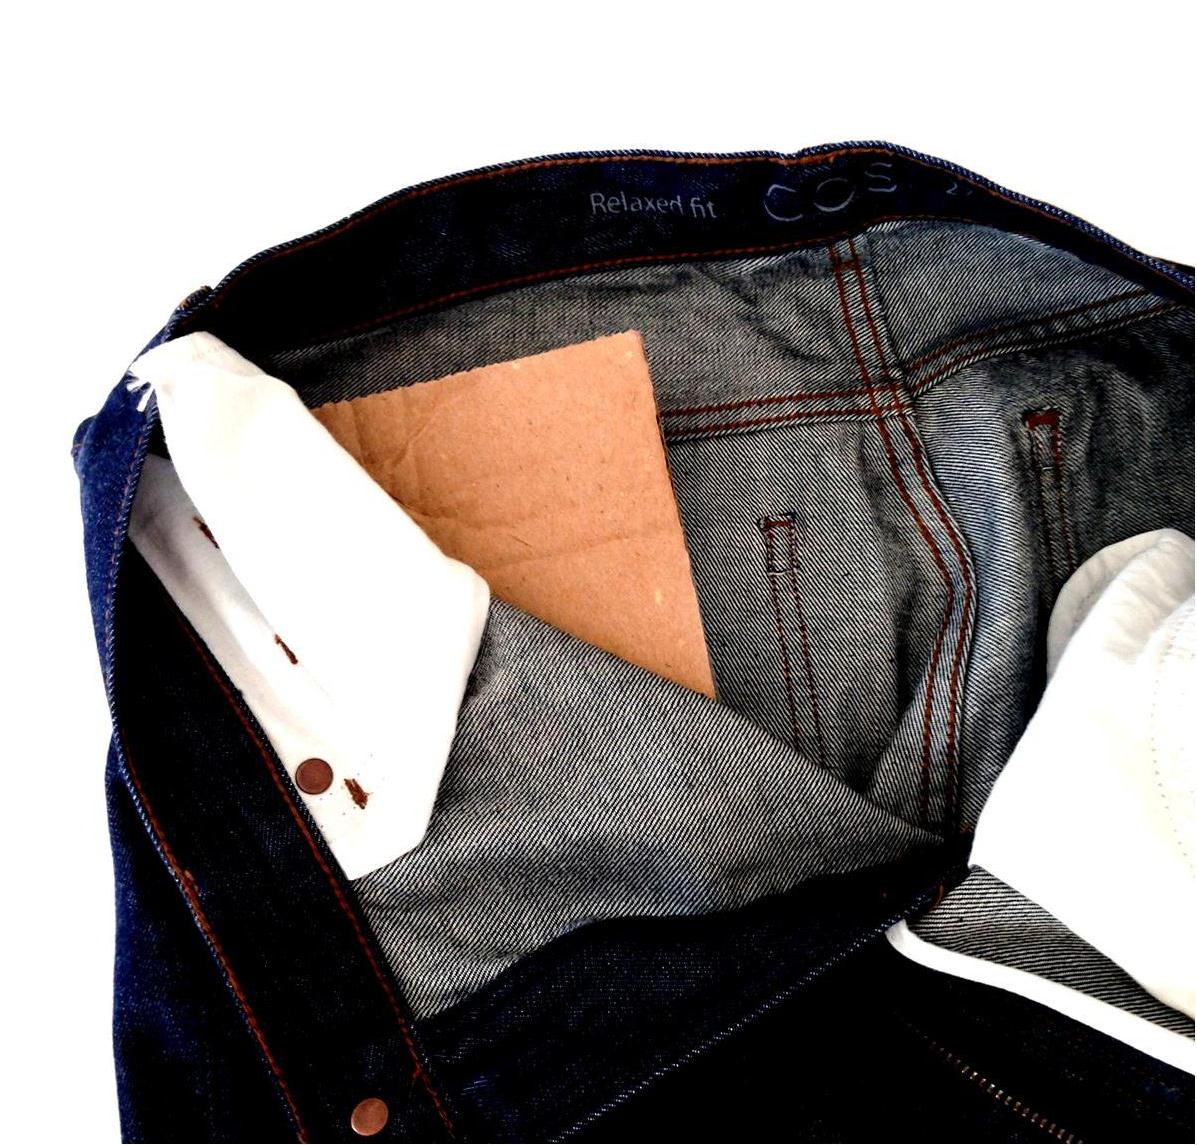
| STEP 1 | Place cardboard inside jeans to where you want to begin distressing. I started at the top where the pocket fell so that the pocket seem would cover the rip.

| STEP 2 | Begin cutting straight lines in different lengths or you can keep them all the same length. Flip that side of the jean to cut through the lines so that they are completely cut.

| STEP 3 | Once you have cut the lines, begin to remove the fibers of the jean, so that you expose the white threads.

| STEP 4 | Take a look at the finished distressed patch to make sure you like the length and shape.

| STEP 5 | Repeat step 2 for the leg and knee areas (that is if you wish to distress those areas).

| STEP 6 | Cut off all the excess fuss on the corners of each of the distress patches, if you want it clean, but you can leave the fuss if you want.

| STEP 7 | Put the jeans to wash, once dried you will have that cool distress denim look.

To create this look, it takes a bit of time to complete, but it is therapeutically and fun to do so don't be discouraged. I think it is one of those things that the more you do the better and faster you get, so it just takes practice. I posted this outfit a few days ago, check out the whole look here.


No comments:
Post a Comment
Thanks for the love!